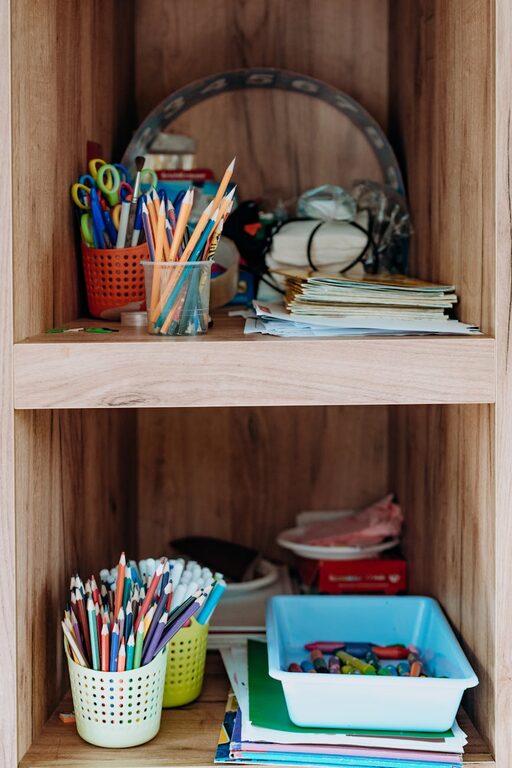
Children’s artwork is a wonderful window into their creativity and imagination. From colorful drawings to crafty projects, their masterpieces can quickly pile up and create clutter around the home. Keeping kids’ art organized not only helps maintain a tidy living space but also shows your child that their efforts are valued and cherished.
In this post, we’ll explore practical and fun tips to help you manage your child’s growing collection of artwork without feeling overwhelmed.
Why Organizing Kids’ Art Matters
Organizing your child’s art has several benefits beyond tidiness:
– Preserves memories: You can revisit special art pieces that mark different stages of your child’s growth.
– Encourages creativity: A well-organized system motivates kids to continue creating.
– Reduces clutter: Prevents art projects from overtaking your home.
– Simplifies decision-making: Makes it easier to decide which pieces to keep, display, or discard.
Tips for Organizing Kids’ Art
1. Create a Dedicated Art Display Area
Designate a space at home where your child’s newest creations can be showcased. This could be a bulletin board, a wall frame gallery, or string wires with clips. Rotating artwork regularly keeps the display fresh and celebrates your child’s evolving skills.
2. Use Storage Solutions for Flat Artwork
For drawings and paintings on paper, flat storage is best:
– Portfolios or binders: Use large, clear-sleeved binders or artist portfolios to store and protect artwork.
– Expandable folders: These are great for sorting by age, theme, or school year.
– Flat storage boxes: Label boxes by year or child’s name to organize larger quantities.
3. Digitize Artworks
Taking photos or scanning artwork offers a digital backup that saves space:
– Photograph each piece: Set up good lighting and a plain background for clear images.
– Organize digital files: Create folders on your computer by date or project.
– Use apps: Several apps help organize children’s artwork and make digital scrapbooks.
4. Curate and Edit Regularly
It’s okay not to keep everything. Involve your child in choosing favorites to keep or gift, and recycle or discard the rest. This encourages decision-making and teaches the value of quality over quantity.
5. Transform Art into Gifts or Keepsakes
Turn artwork into lasting memories or personalized gifts:
– Custom photo books: Compile scanned images into a printed album.
– Greeting cards: Reuse art as covers for thank-you or holiday cards.
– DIY crafts: Make bookmarks, magnets, or calendars featuring art.
6. Label and Date Art
Adding dates and brief notes about the artwork’s story or inspiration can enhance its sentimental value and help with later sorting.
7. Use Vertical Storage Space
If storage space is limited, consider vertical options such as hanging files or wall-mounted organizers.
Tips for Keeping the Process Fun and Collaborative
Engage your child in organizing their art:
– Let them choose which pieces to display.
– Make sorting days special with snacks and music.
– Encourage storytelling about each artwork to keep memories alive.
Final Thoughts
Organizing kids’ artwork can feel like a big task, but with a few simple strategies and regular upkeep, it becomes an enjoyable way to celebrate creativity. Whether you prefer physical albums, digital archives, or art displays, find a system that works for your family and watch your child feel proud of their artistic journey.
By setting up an effective routine, you create lasting keepsakes while keeping your home clutter-free. Happy organizing!


